Outlook 2013: Set up email
This article is specific to Business Email. If you have a different type of email, please see Workspace email Outlook 2013 instructions.
You can set up your Business Email in Microsoft® Outlook 2013.
- Open Microsoft Outlook 2013.
- If this is the first time you've opened Outlook 2013, you'll see a welcome screen.
- Click Next.
- Select Yes, and click Next.
- If you've already set up an email address Outlook 2013, you'll see the inbox screen.
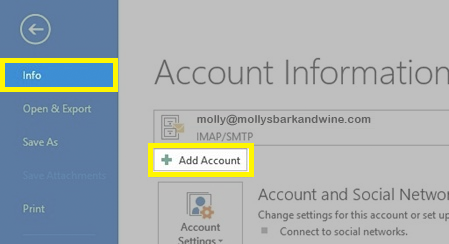
- Click File.
- Under Info, click Add Account.
- Make sure E-mail Account is selected, and enter your Business Email address details.
Field What to enter Your Name The name you want to show as the From display, on your emails E-mail Address Your full Business Email address Password Your Business Email password Retype Password Your Business Email password, again - Click Next.
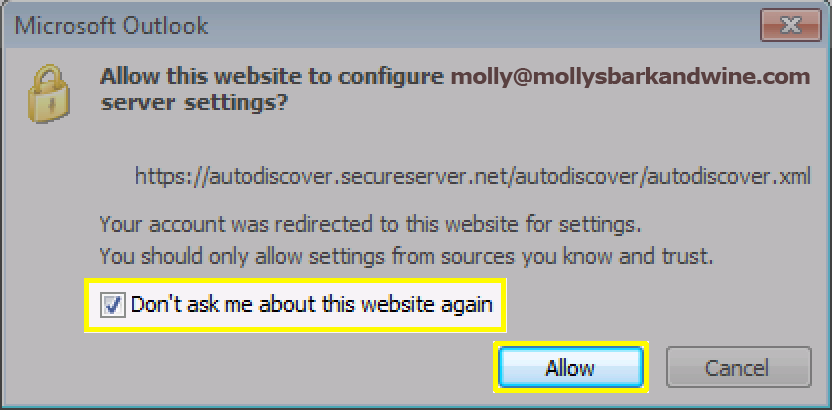
- Outlook 2013 will test your settings. You may see a pop-up window asking if you want to Allow this website to configure... Select Don't ask me about this website again, and click Allow.
- When Outlook 2013 is finished setting up your account, you will see a message that Your e-mail account is successfully configured. Click Finish.
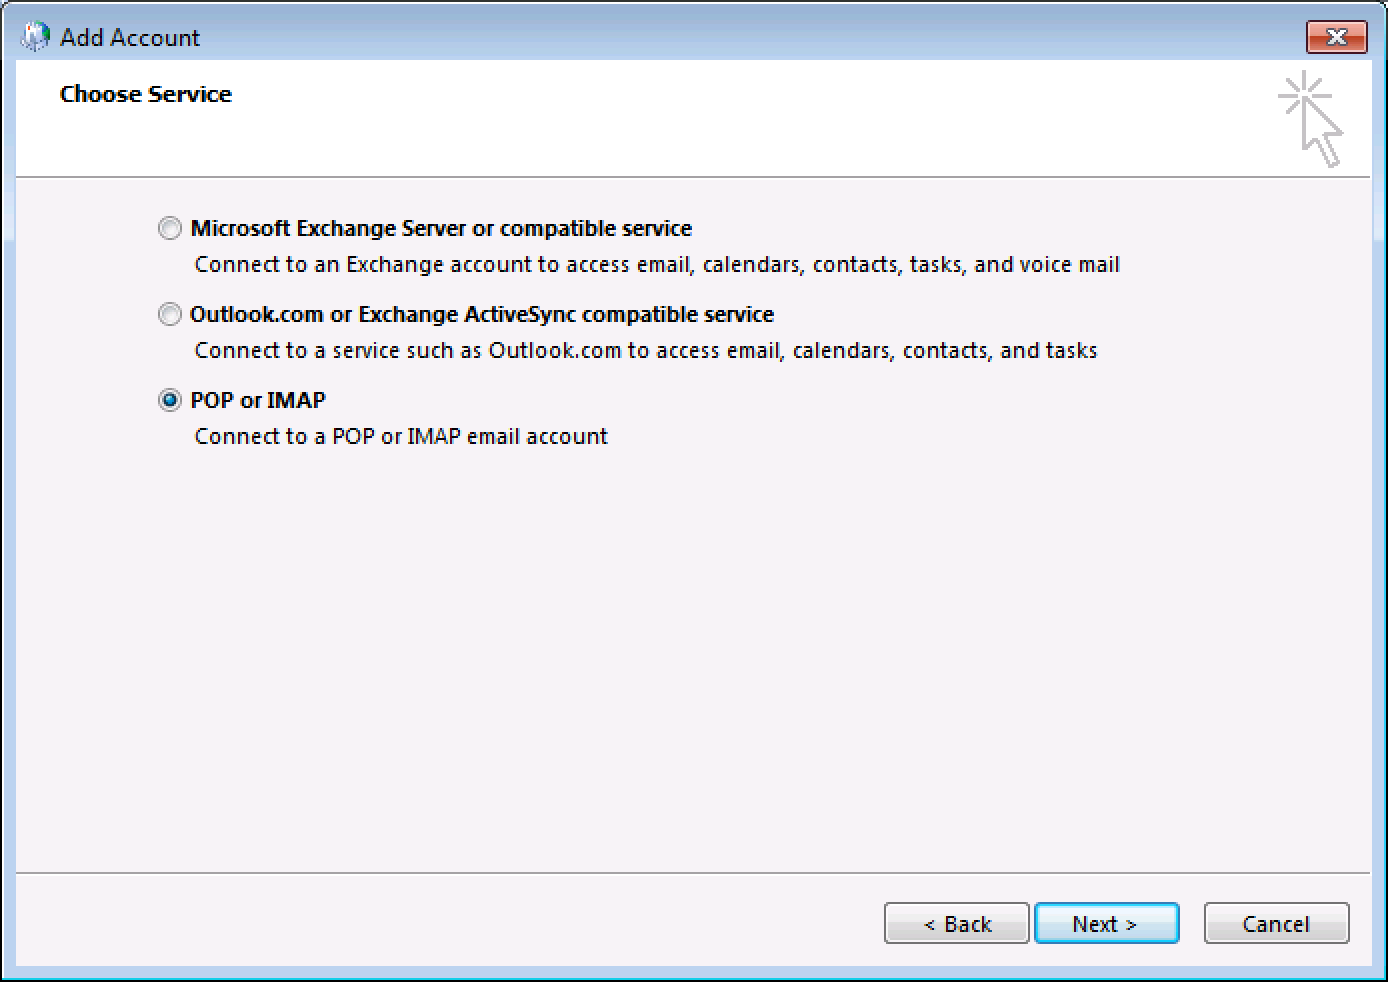
Outlook may not be able to automatically detect your email settings. In that case, select the option to Manually configure server settings, and click Next.
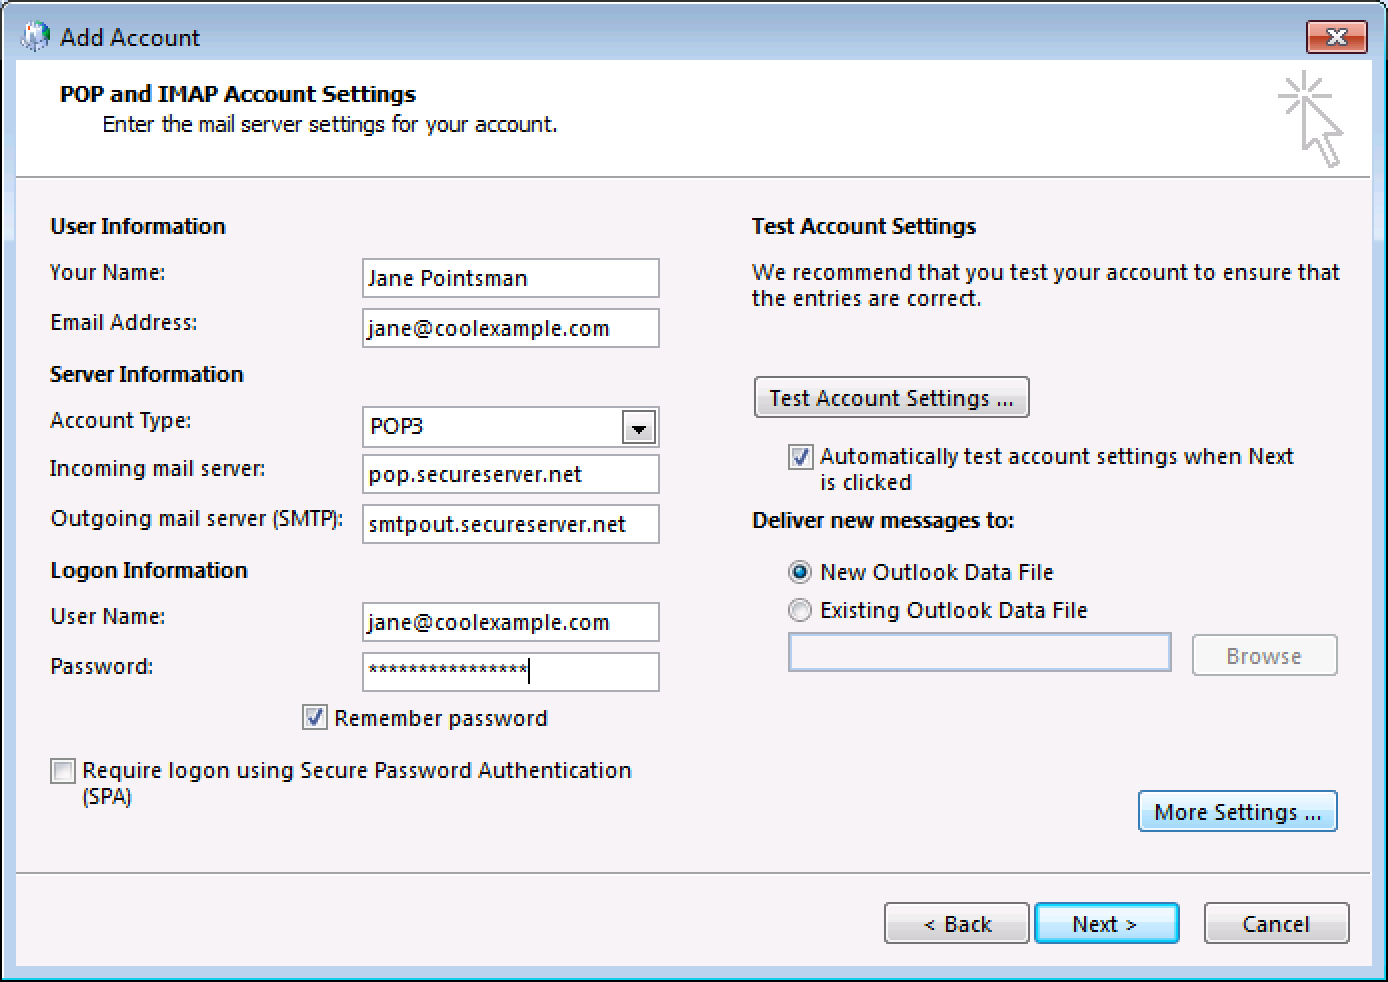
Field Enter Your Name What you want your display name to be for this account Email Address Your full Business Email address Account Type Select IMAP. Incoming and Outgoing mail server Enter the server addresses for your region. User Name Your full Business Email address Password Your Business Email address password Remember password Select this option Require logon using Secure Password Authentication Deselect this option
| Field | What to do... |
|---|---|
| My outgoing server (SMTP) requires authentication | Select this option |
| Use same settings as my incoming mail server | Select this option |
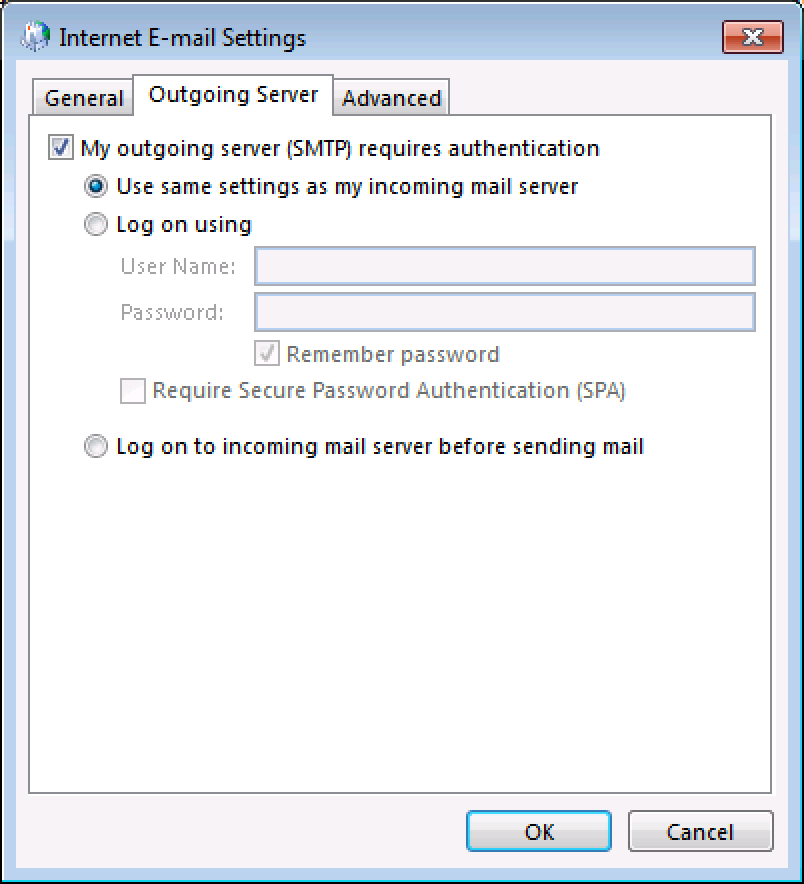
Note: As a troubleshooting step, select Log on using. Then enter your User Name, and your Password. Use your full Business Email address as your User Name.
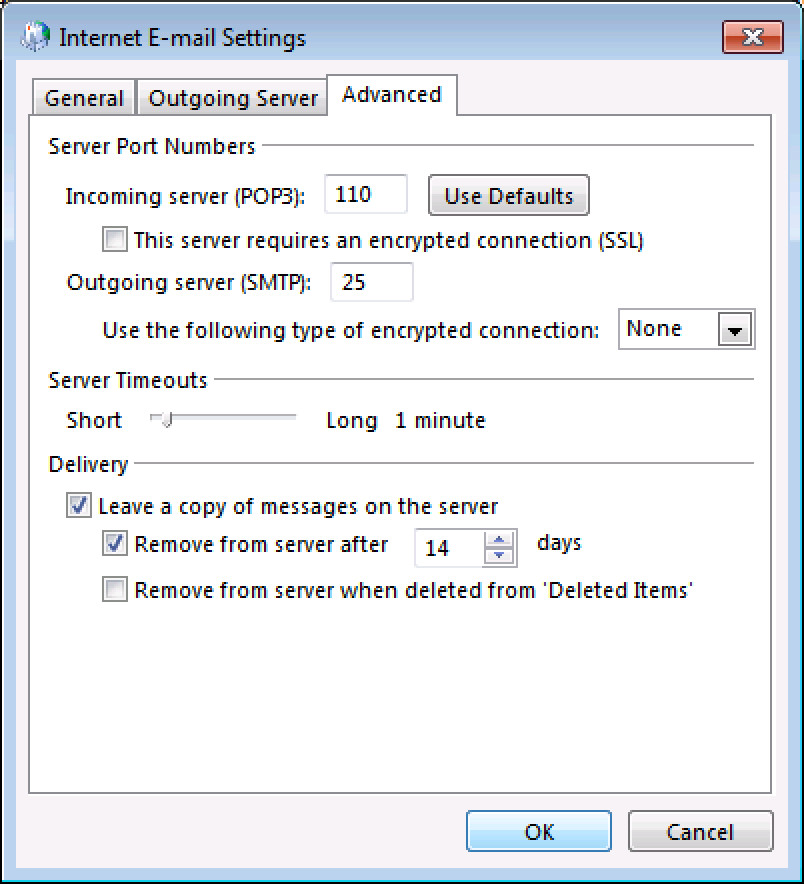
| Field | What to do... |
|---|---|
| Incoming server | Enter one of the incoming ports, listed here. |
| This server requires an encrypted connection (SSL) | If you entered an SSL port, select this option. Otherwise, deselect this option. |
| Outgoing server (SMTP) | Enter one of the outgoing ports, listed here. |
| Use the following type of encrypted connection | If you entered an SSL port, set this to SSL. Otherwise, set this to None. |
| Server Timeouts | This selection is up to you. |
| Leave a copy of messages on the server | This option is up to you. If you have a POP account, and you will be using more than one way to access your email, you should select this. Leaving a copy on the server will use up your email storage limit, faster. Learn about the differences between POP and IMAP for more. |
Next steps
- Send yourself an email to make sure everything is working.
More info
- Set up your Business Email on your phone:
Note: As a courtesy, we provide information about how to use certain third-party products, but we do not endorse or directly support third-party products and we are not responsible for the functions or reliability of such products. Third-party marks and logos are registered trademarks of their respective owners. All rights reserved.